Building an Open Source E-Reader for Under €40

David Avery
August 12, 2026
Open-source e-reader project — docs coming once it's tidied up. You can build one yourself for under €40, way cheaper than retail. Currently reads epub (just a zip archive) and plain text; more formats are easy to add later, just haven't gotten to it.
Why bother
E-readers are relatively expensive. E-ink screens as bare components are relatively cheap. Finding a controller that sits in the gap between cheap and powerful enough to actually process files is where the balancing act starts.
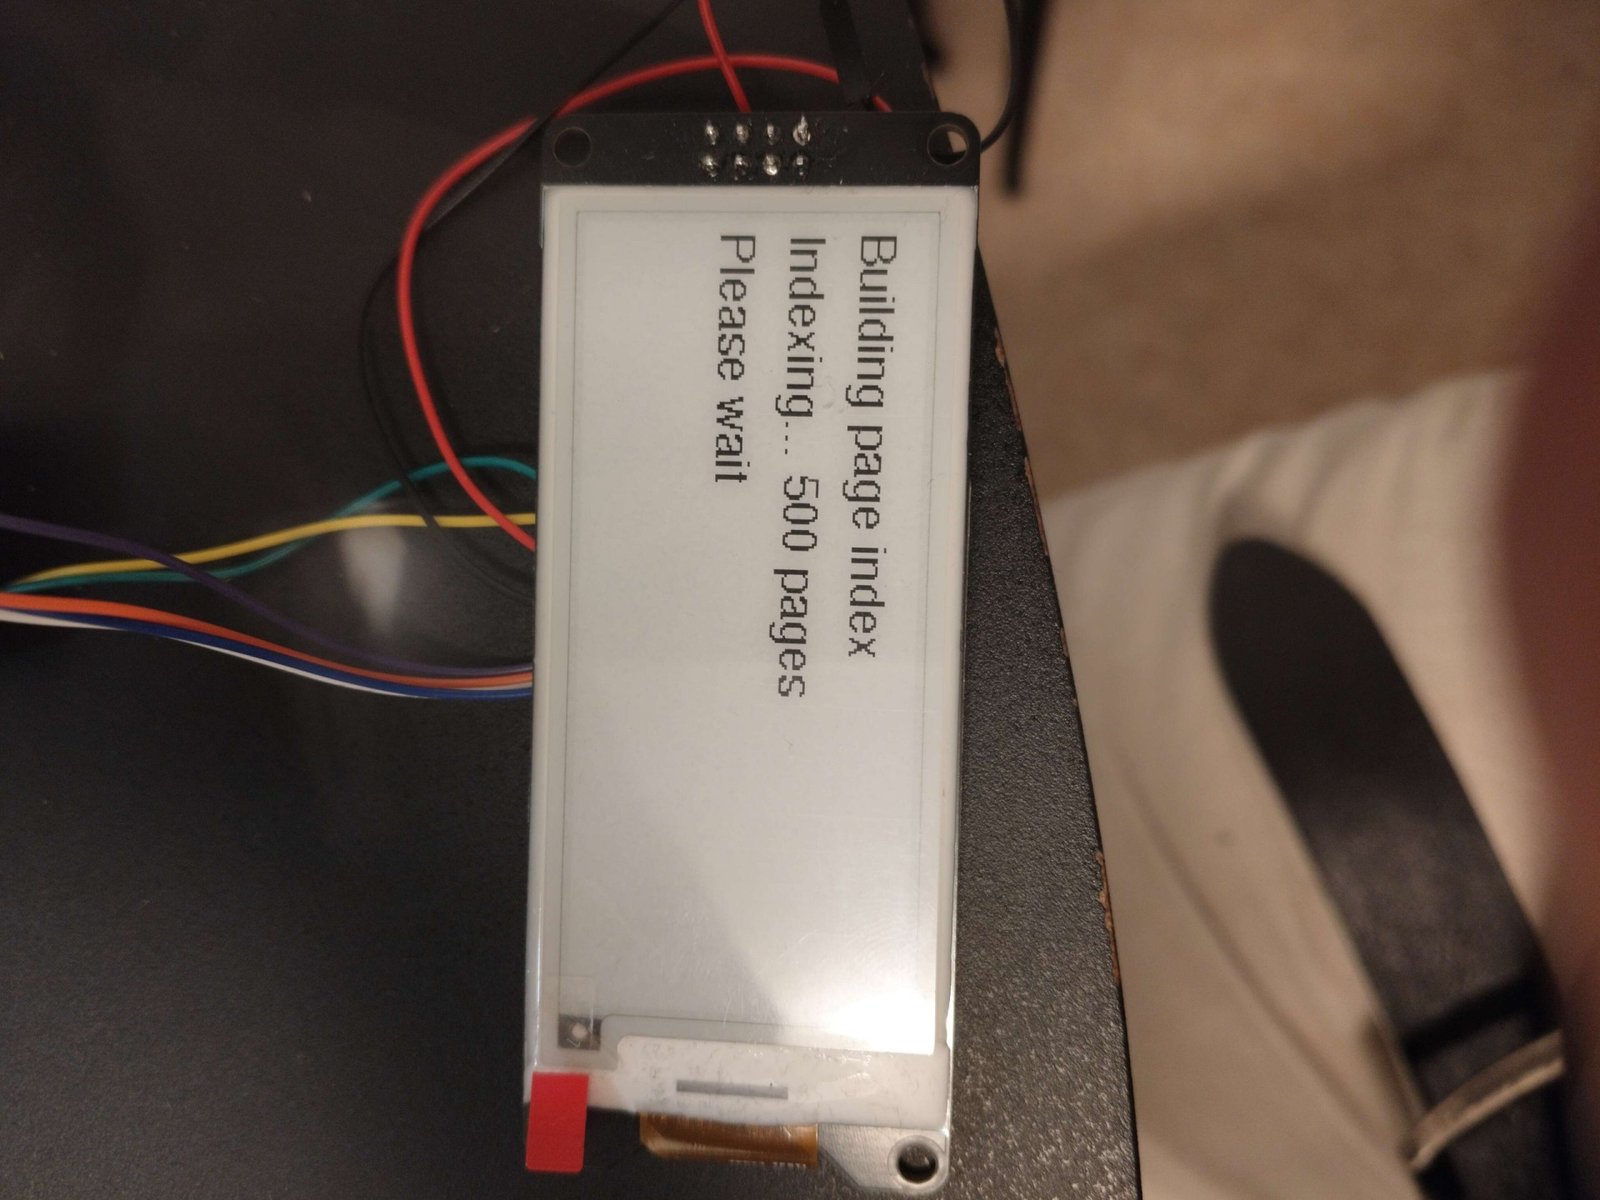
I wanted to lower my screen time. When i spotted a small e-ink panel for less than 150kr i knew it was worth a try. I looked at what was easily available and the specs on the Espressif ESP32-S3 were pretty much perfect — configurable flash and PSRAM, OTG USB-C, microSD, and enough available pins to include proper physical inputs. The screen i'm starting with is a little bigger than a credit card, so the plan is that when i pull it out my pocket i can read a tiny bit at a time and not doom scroll.
So i set about working out a method. I broke the project into stages with specific goals, each one building on the last. I managed to keep from skipping ahead, though sometimes took the longer path when it became apparent that certain features were needed earlier than planned just to get the immediate part working. This mostly paid off — i didn't have to rewrite everything after making too many shortcuts.
The build, goal by goal
G1 — Hardware Abstraction Layer
Everything that touches a GPIO number lives in one file: hal_config.h. Pin assignments, SPI frequency, battery thresholds, sleep wake sources. If the hardware changes, only this file changes. Nothing else in the project has a magic number in it.
G2 — Input Manager
A clean abstraction over the rotary encoder — UP, DOWN, SELECT come out the other side regardless of what physical input produced them. This also meant i could inject simulated inputs over serial during development before the encoder was wired, which turned out to be genuinely useful rather than just convenient. Having this layer as a starting point turned out to be genuinely useful beyond development too — i haven't settled on a hardware encoder i'm happy with yet, i'm sure the right one is out there, but i'm also planning to try capacitive touch instead. With this abstraction in place you can swap the physical input without touching anything above it.
G3 — EPD Driver
A wrapper around the GxEPD2 library so nothing above it ever calls GxEPD2 directly. Full refresh, partial refresh, sleep, wake — all in one place. The display holds its image with zero power when sleeping, which matters a lot for battery life when most of the device's time is spent doing nothing.
G4 — Rendering Engine
This is the one that caused the most problems. A word-wrap layout engine that takes styled text runs, measures actual glyph widths, breaks words across lines correctly, handles hyphenation, and pushes the result to the screen. It also manages a page cache on the SD card — rendered pages saved as raw bitmaps so subsequent views are instant. Two RAM buffers keep the previous and next pages pre-rendered so page turns feel immediate in both directions.
G5 — Filesystem Layer
SD card mounting, directory listing, file open/close. Handles the SPI bus sharing between the display and the SD card — a detail that causes mysterious corruption if you get it wrong (the EPD chip select has to be held high during SD init, otherwise the bus state is undefined and bad things happen quietly).
G6 — Document Parsers
TXT is straightforward. EPUB took more work — it's a zip archive, so decompression is required on the fly. The standard library options for this were too heavy for the microcontroller; the solution was uzlib, a deflate implementation written specifically for constrained hardware. Minimal RAM footprint, no heap corruption, actually works.
G7 — Position and Bookmark Manager
Reading position is stored in NVS (non-volatile storage) so the device remembers where you were across power cycles and deep sleep. Page index files live on the SD card per book. Bookmarks use FNV-1a hashing — up to eight per book.
G8 — UI State Machine
Six states: BOOT, FILE_BROWSER, READING, IN_BOOK_MENU, SETTINGS, BOOKMARK_LIST. Managed by FreeRTOS with an event queue. The file browser, settings screen, and reading view are all driven by the same underlying list drawing utilities, which keeps the display code consistent and reduces the amount of things that can go wrong.
G9 — Power Management
Deep sleep via EXT0 and EXT1 wake sources. Inactivity timer — 60 seconds of nothing and it sleeps. Reed switch support for a magnetic cover that sleeps the device when closed and wakes it when opened, the same way a real book works. The cover sleep toggle is a setting that persists to NVS.
G10 — Battery Life Model
A spreadsheet model with three sheets: inputs, model, scenarios. Formula-driven so you can change the assumed display refresh rate or sleep duty cycle and immediately see the effect on estimated runtime. Useful for component selection — it's how i confirmed the LiPo cell size before ordering anything.
G11 — Annotation and Architecture Documentation
Every function in all 56 source files annotated with WHY, WHAT, and HOW comments. An ARCHITECTURE.md covering the full system. Anyone who wants to give this project a try and dig into the lower level parts, this is where it will be useful — it should be pretty in depth. If you're just looking to drop in and go, there will be a ready to go version released later with the current screen's code and circuitry in a complete package — KiCad files, Arduino IDE project, the lot.
G12 — Display Upgrade
Swapped the 2.9" 128×296 panel for a 4.2" 400×300 panel. Because the rendering engine uses EpdDriver::width() and EpdDriver::height() for all layout calculations rather than hardcoded numbers, the upgrade touched seven files and was mostly a case of updating constants. The architecture held. In theory the hardware layer being defined by screen dimensions makes it interchangeable — with an asterisk. The ESP32-S3 has limits and i had to work around them; the pre-rendering buffer size is directly tied to available RAM, so if you start looking at significantly larger screens you may need a more capable chip. The current rendering engine also doesn't account for screens with more than two colour options, so if you're looking at a three-colour or greyscale panel that's a separate problem for another day.
Project creep (inevitable)
I did get a bit of project creep. I realised early on that the architecture i was building would be adaptable to different screen sizes without much effort — the rendering layer just asks the driver how big the display is and works from there. I foolishly mentioned this to a friend, along with the fact that i'd spotted a nice slightly larger screen, and somehow ended up with an order for a product i hadn't even finished building my own personal version of yet.
That said it does work out. If you can get a screen with the same wiring conventions and you have the resolution, you can make it fit. The screen is the panel, not the product.
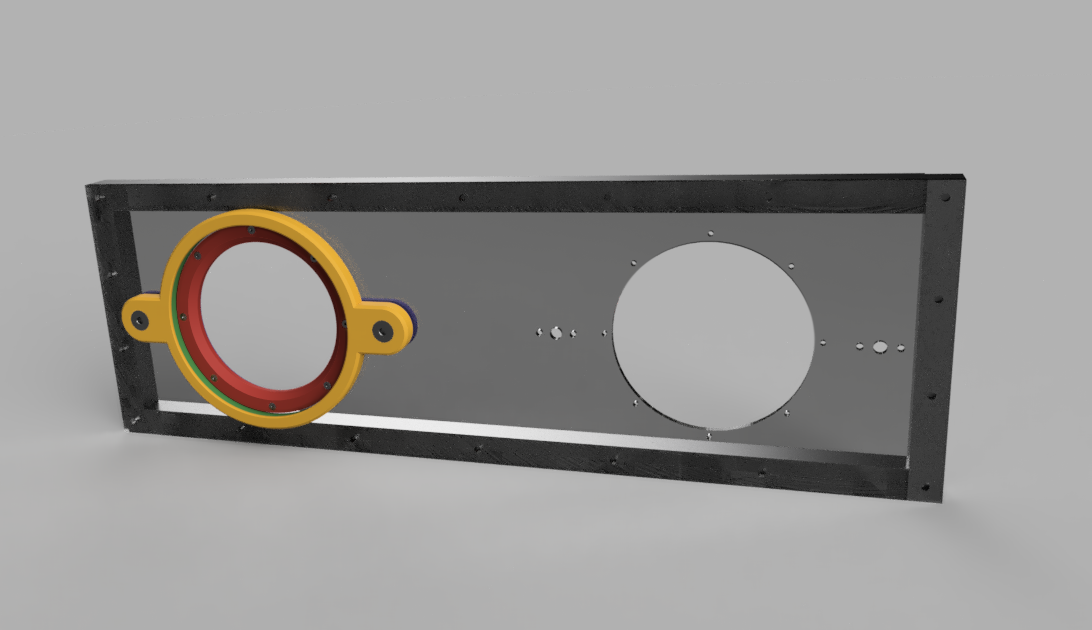
Case design is currently being improved with a base PCB being refined around the case changes. Once i have something worth taking a picture of that sits together neatly i'll update this again. The circuitry itself is relatively simple — off the shelf jellybean components throughout. The voltage regulator is planned to be tied into the ESP so it can detect when it's plugged in to charge; the advantage there is that while it's on the charger it can parse through books and prepare files in the background rather than doing that work on first open. The rest of the inputs are all straightforward. The one thing i'm still working out is whether i can add a backlight — that's probably a problem for later though.
Newest

Rust Language - Mind Mapping Software
Hive Monitor: An Ongoing Build Log